After the success with the first attempt with the Ethernet Vertical antenna, I knew I wanted to improve upon the design to improve how the antenna would function. As a proof of concept, rapid deployment, emergency HF antenna, I proved it could be done and I could work stations. However, I knew I could improve it with a few hours of time. First off I knew I could improve the SWR on 40 and 20 and 10 with some minor adjustments and removing some material that was just floating in the bundle of wires. I separated out the wires (“You gotta keep ’em separated”) (Bonus points awarded to those that comment with the artist) the antenna would operate better as there would be less interaction between the different vertical radiators of the antenna. So, I broke out the networking stripper tool and stated to work to strip off the sheath, and then un-bundle all of the wires.
VERSION 2.0
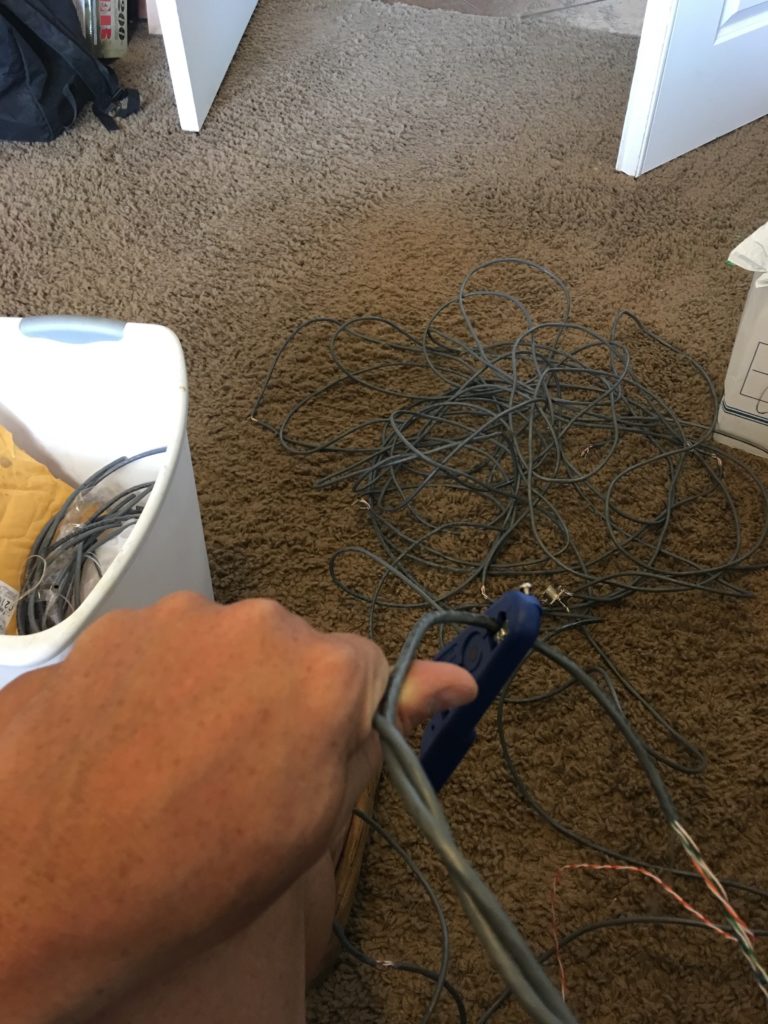
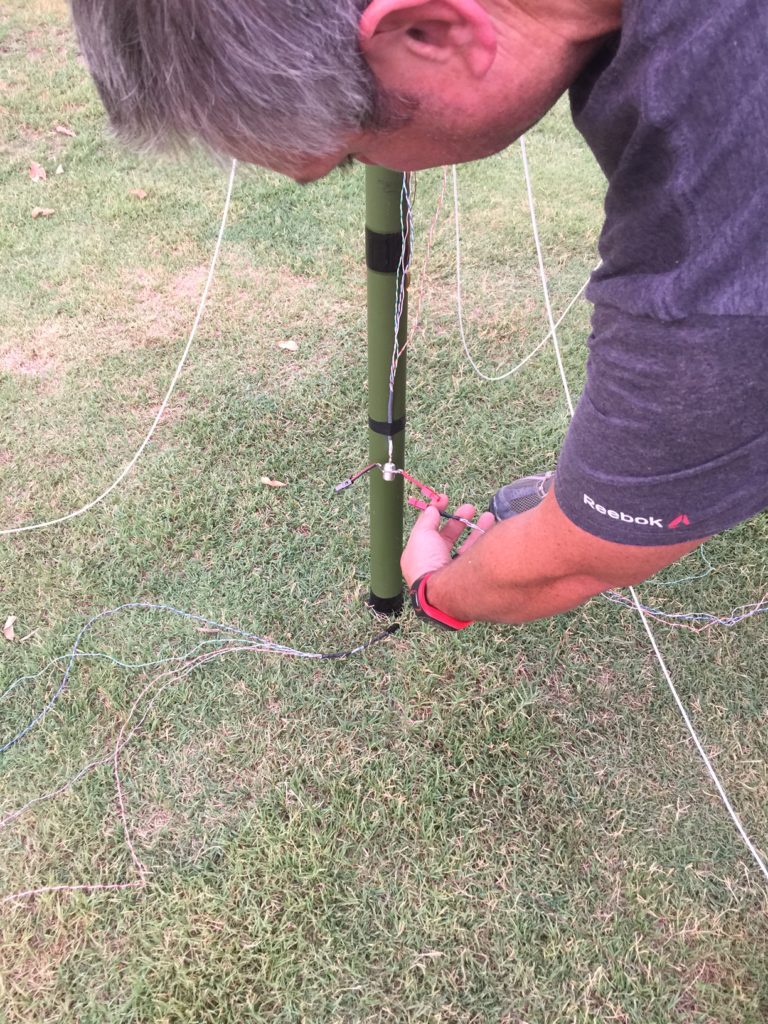
Working on my grip strength stripping the sheath off of these 33′ long runs of wires.
If the wires were stranded and not solid, it would have gone a lot faster, as you had to pay a lot of attention to kinks in the wire as you pulled it back and forth and coiled it up.
If you ever want a grip workout – try striping the sheath off of 100′ of CAT6 cable, 6-8″ at a time and sliding the sheath down a 30′ run of bundled wires.. Wow. By the time I was done my hands were sore – in a good way.
However, the end result was worth it. All the extra wire was removed, and I was able to separate out the single and pairs of wire that I was using for each band, for the vertical radiator as well as the two sets of radials.
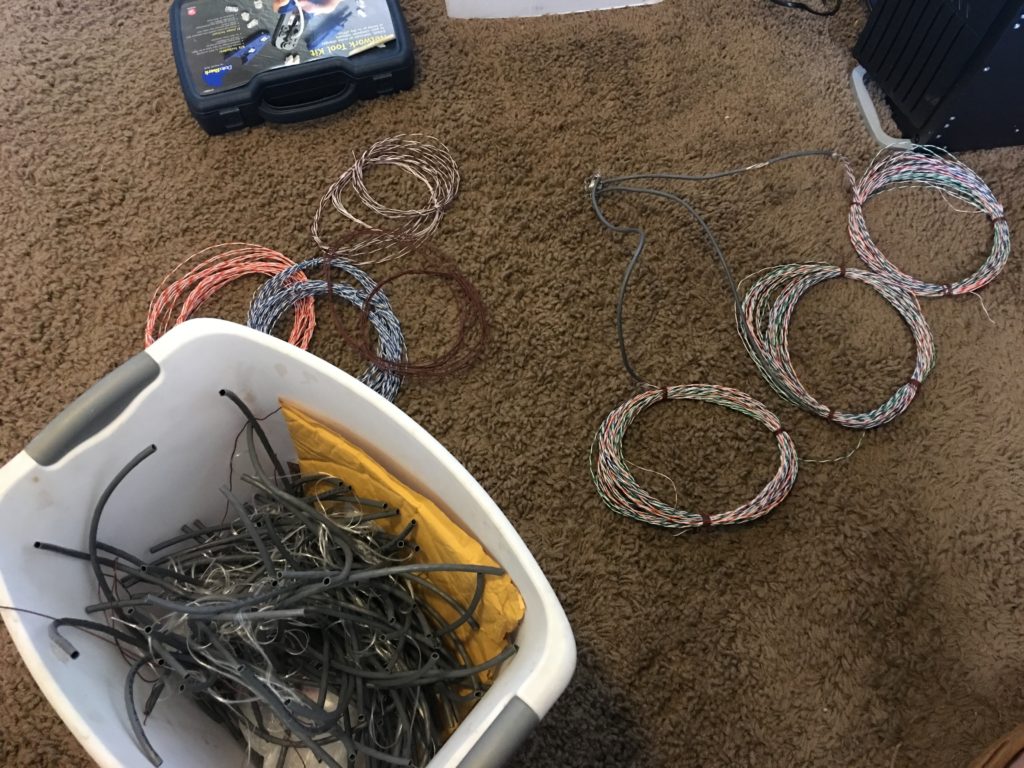
A trash bucket full of discarded CAT6 cable sheathing and the excess wire removed from the antenna.
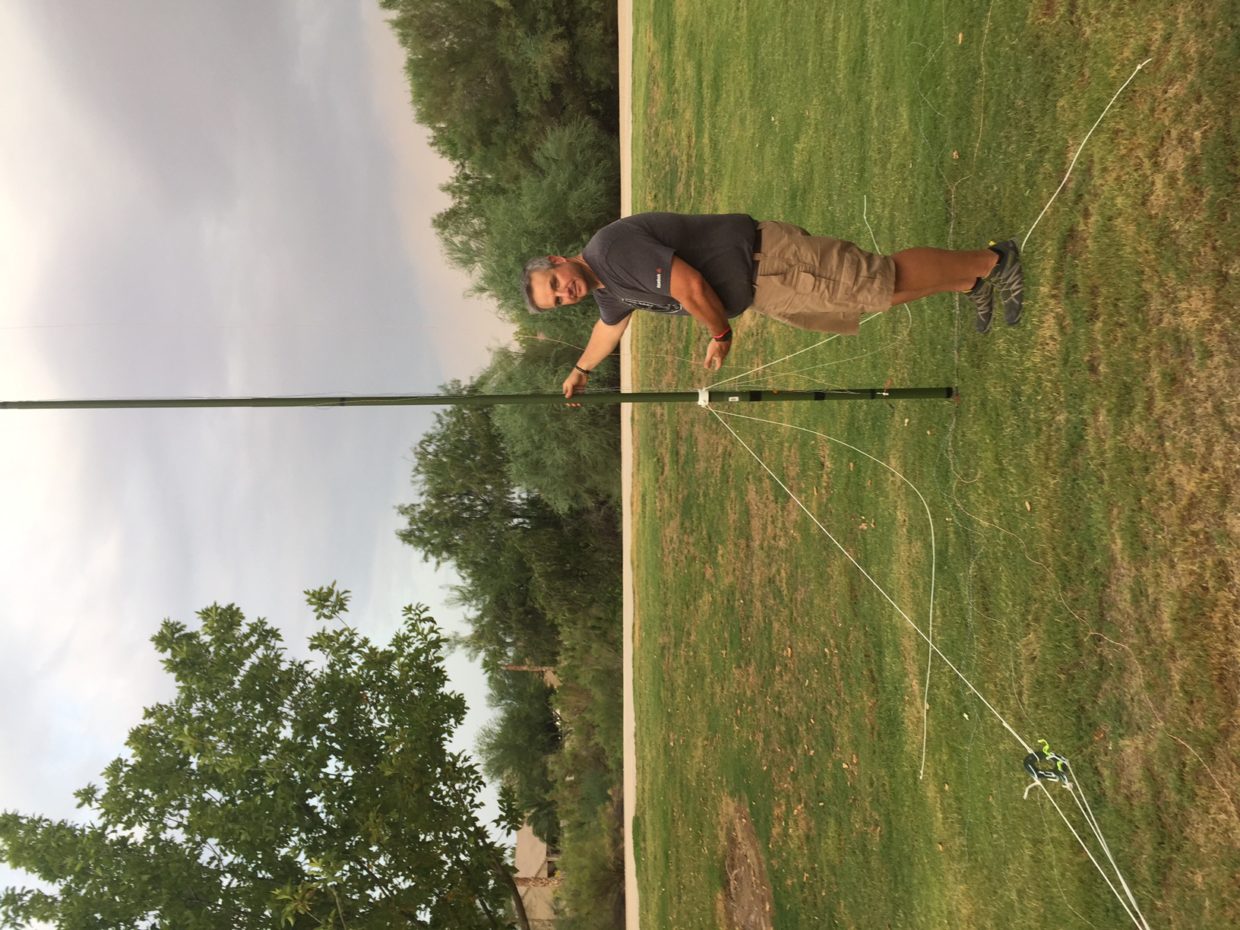
With the latest additions done, it was ready to go back to the park and set it up again for round two of testing.
Upon arriving at the park (Desert Mt. Park in Queen Creek), I quickly remeasured each radiator as well the radials for any last minute adjustments, then strung up the antenna, just taping the radiators to the jackite pole using electrical tape.
After a few up a downs of the Jackite pole with Dave, AC7FF – I determined that I had cut short 20m, and needed to add back about 8″ of wire. An easy fix for this portable operation, but a long term solution would be a solder job to attach the extra wire, or a crimp connector. For this outing, we just twisted the wire together and called it good.
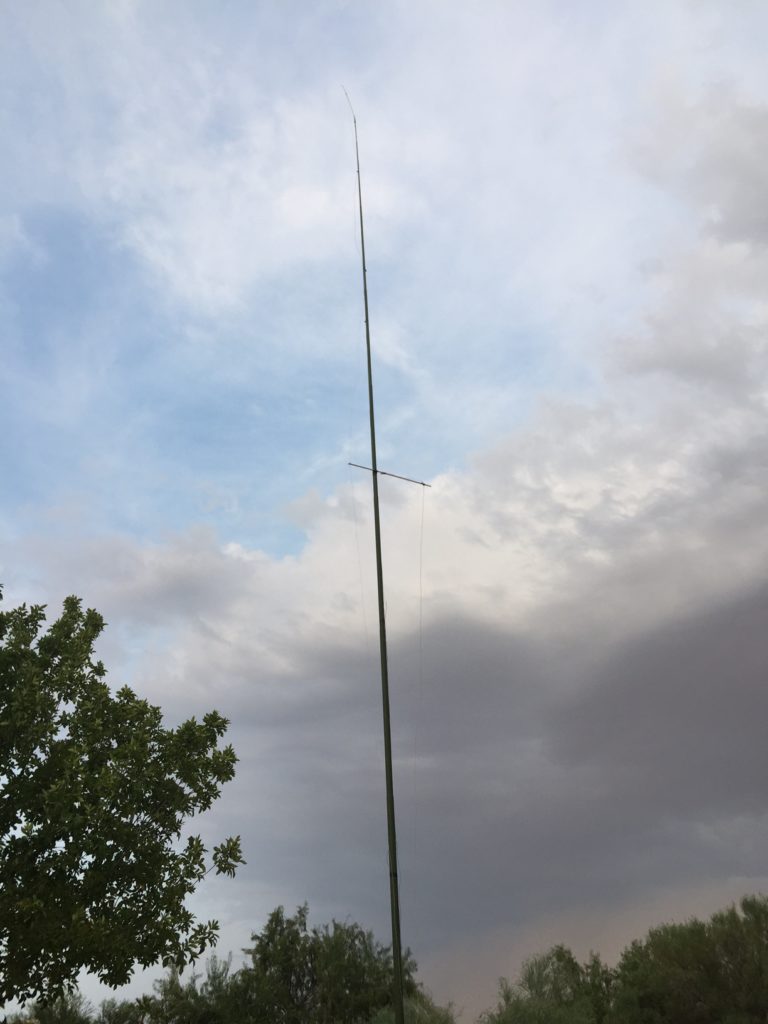
Extra wooded dowel at the top and the wooden dowel stand off arm for the 20m radiator.
I ran the 40m radiator the full length of the jackite pole, and then added a 3′ wooden dowel rod to get the height we needed for 40m. For 20m, I added a stand off to keep the radiator away from the other bands. 30/17/10m were all taped to the jackite pole on opposite angles to each other.
A close up of the connections of the ethernet cable wire radials laid out on the ground and the connection to the center conductor.
I upgraded the base radial connections and added power pole connectors to allow for easy storage of the entire antenna.
Results
The antenna was a flat 1.2:1 SWR on 40m (the whole band) and a 1.5:1 SWR on 20m, and 1.5:1 on 10m. 17/30 meters were still wack- I need to adjust those if I want to use those bands. (4:1 and 6:1)
“Don’t expect much tonight on 20- not the best night to test a new antenna..”
ARIZONA Dust Storms
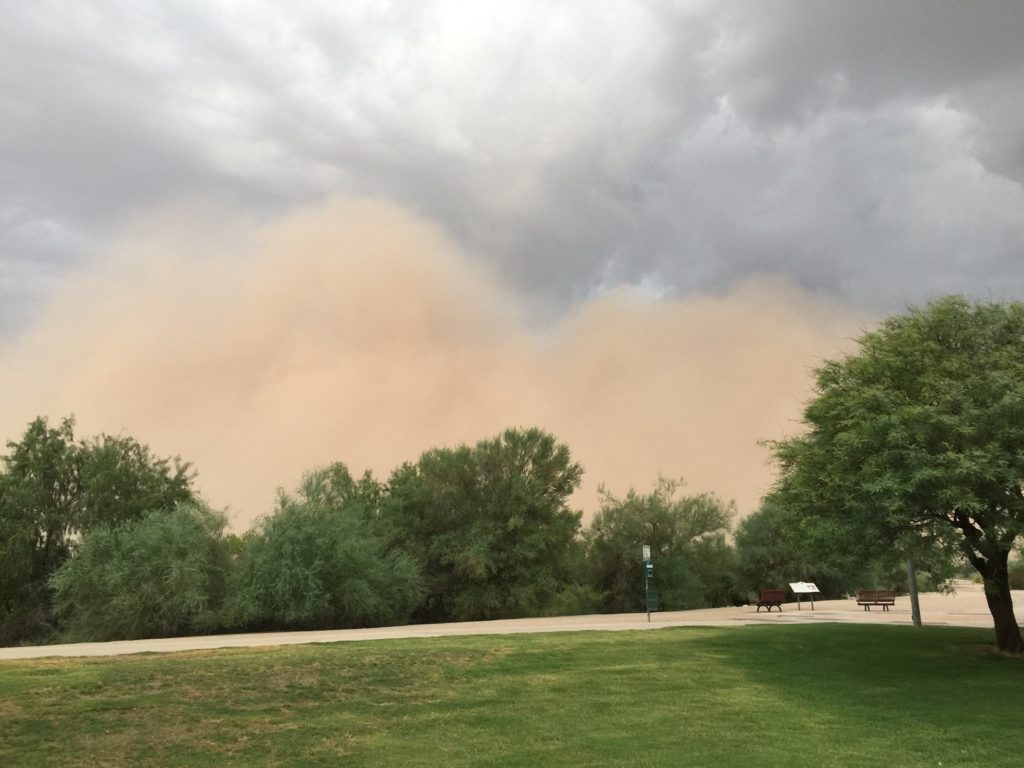
Yep – another dust storm rolling in!
When Troy, K7TJK snapped these pics, (this one is great Troy!) the storm was about 20 minutes away. It was time to tear everything all down and get it into the truck before the dust cloud rolled in. I made it with about 2 minutes to spare before the first wave of the dust storm hit. Yes.. it is just like what you see in the picture, a massive cloud of dust, usually moving with 20-30 MPH winds. That small fine gritty sand gets in everything and makes a heck of a mess.. not something you want to subject your radio gear to. I quickly packed up and headed for home as I knew we were done operating. The lightning and sheets of rain soon followed. I would have loved to have operated a bit longer, but I think I proved my point. $19 worth of wire, 3-4 hours of time and you have a great effective antenna. Radio doesn’t have to super expensive, and when it is cheap – it is a lot more fun!
Hope to work you on the bands!
73 and good DX !
Shane Martin June 17, 2018
The Offspring, for the bonus points.
As a lowly tech with a new Xiegu (arrived yesterday) and a budget of next to nothing I’ll be trying this shortly.
n1rwy June 20, 2018 — Post Author
It works great!
Congrats on your license and good luck on your HF privilege upgrades. My design gets the antenna on 17/20/40 down to around a 1.7-2.0 SWR. Plenty fine. With more tweaking you can drop it more if you want. Verticals on HF are great ways to work DX. A bit more noisy on receive, but DX gang busters.