If any of you have become a amateur radio operator since the mid 90s- you might have found that the movement needed to work CW feels strange- yet at the same time- working a standard 2 button mouse feels natural.
What are you to do? Learn how to operate the left to right motion or find a “piano” style key that would mimic the movement of the standard computer mouse that we all use each and every day.
I wanted to make a key out of an old mouse for several years. I do a lot of remote operations and I didn’t want to bring a heavy key with me for the weight of the device and the fear of damaging the key with all the bouncing and thrashing around in my pack.
I fully understand that this is a short term portable light weight cheap solution. When you open a mouse you will find several micro switches. This is what you will use for your “dits” and “dahs” your CW tones. You should realize that all switches will go bad at some point- and if that happens you might be able to replace one from the existing mouse- or you might have to toss the mouse and hit the local Goodwill store and get another one. (I have used mine off and on for a few years and besides my poor fist- it is working as it should)
So! Let’s dive in!
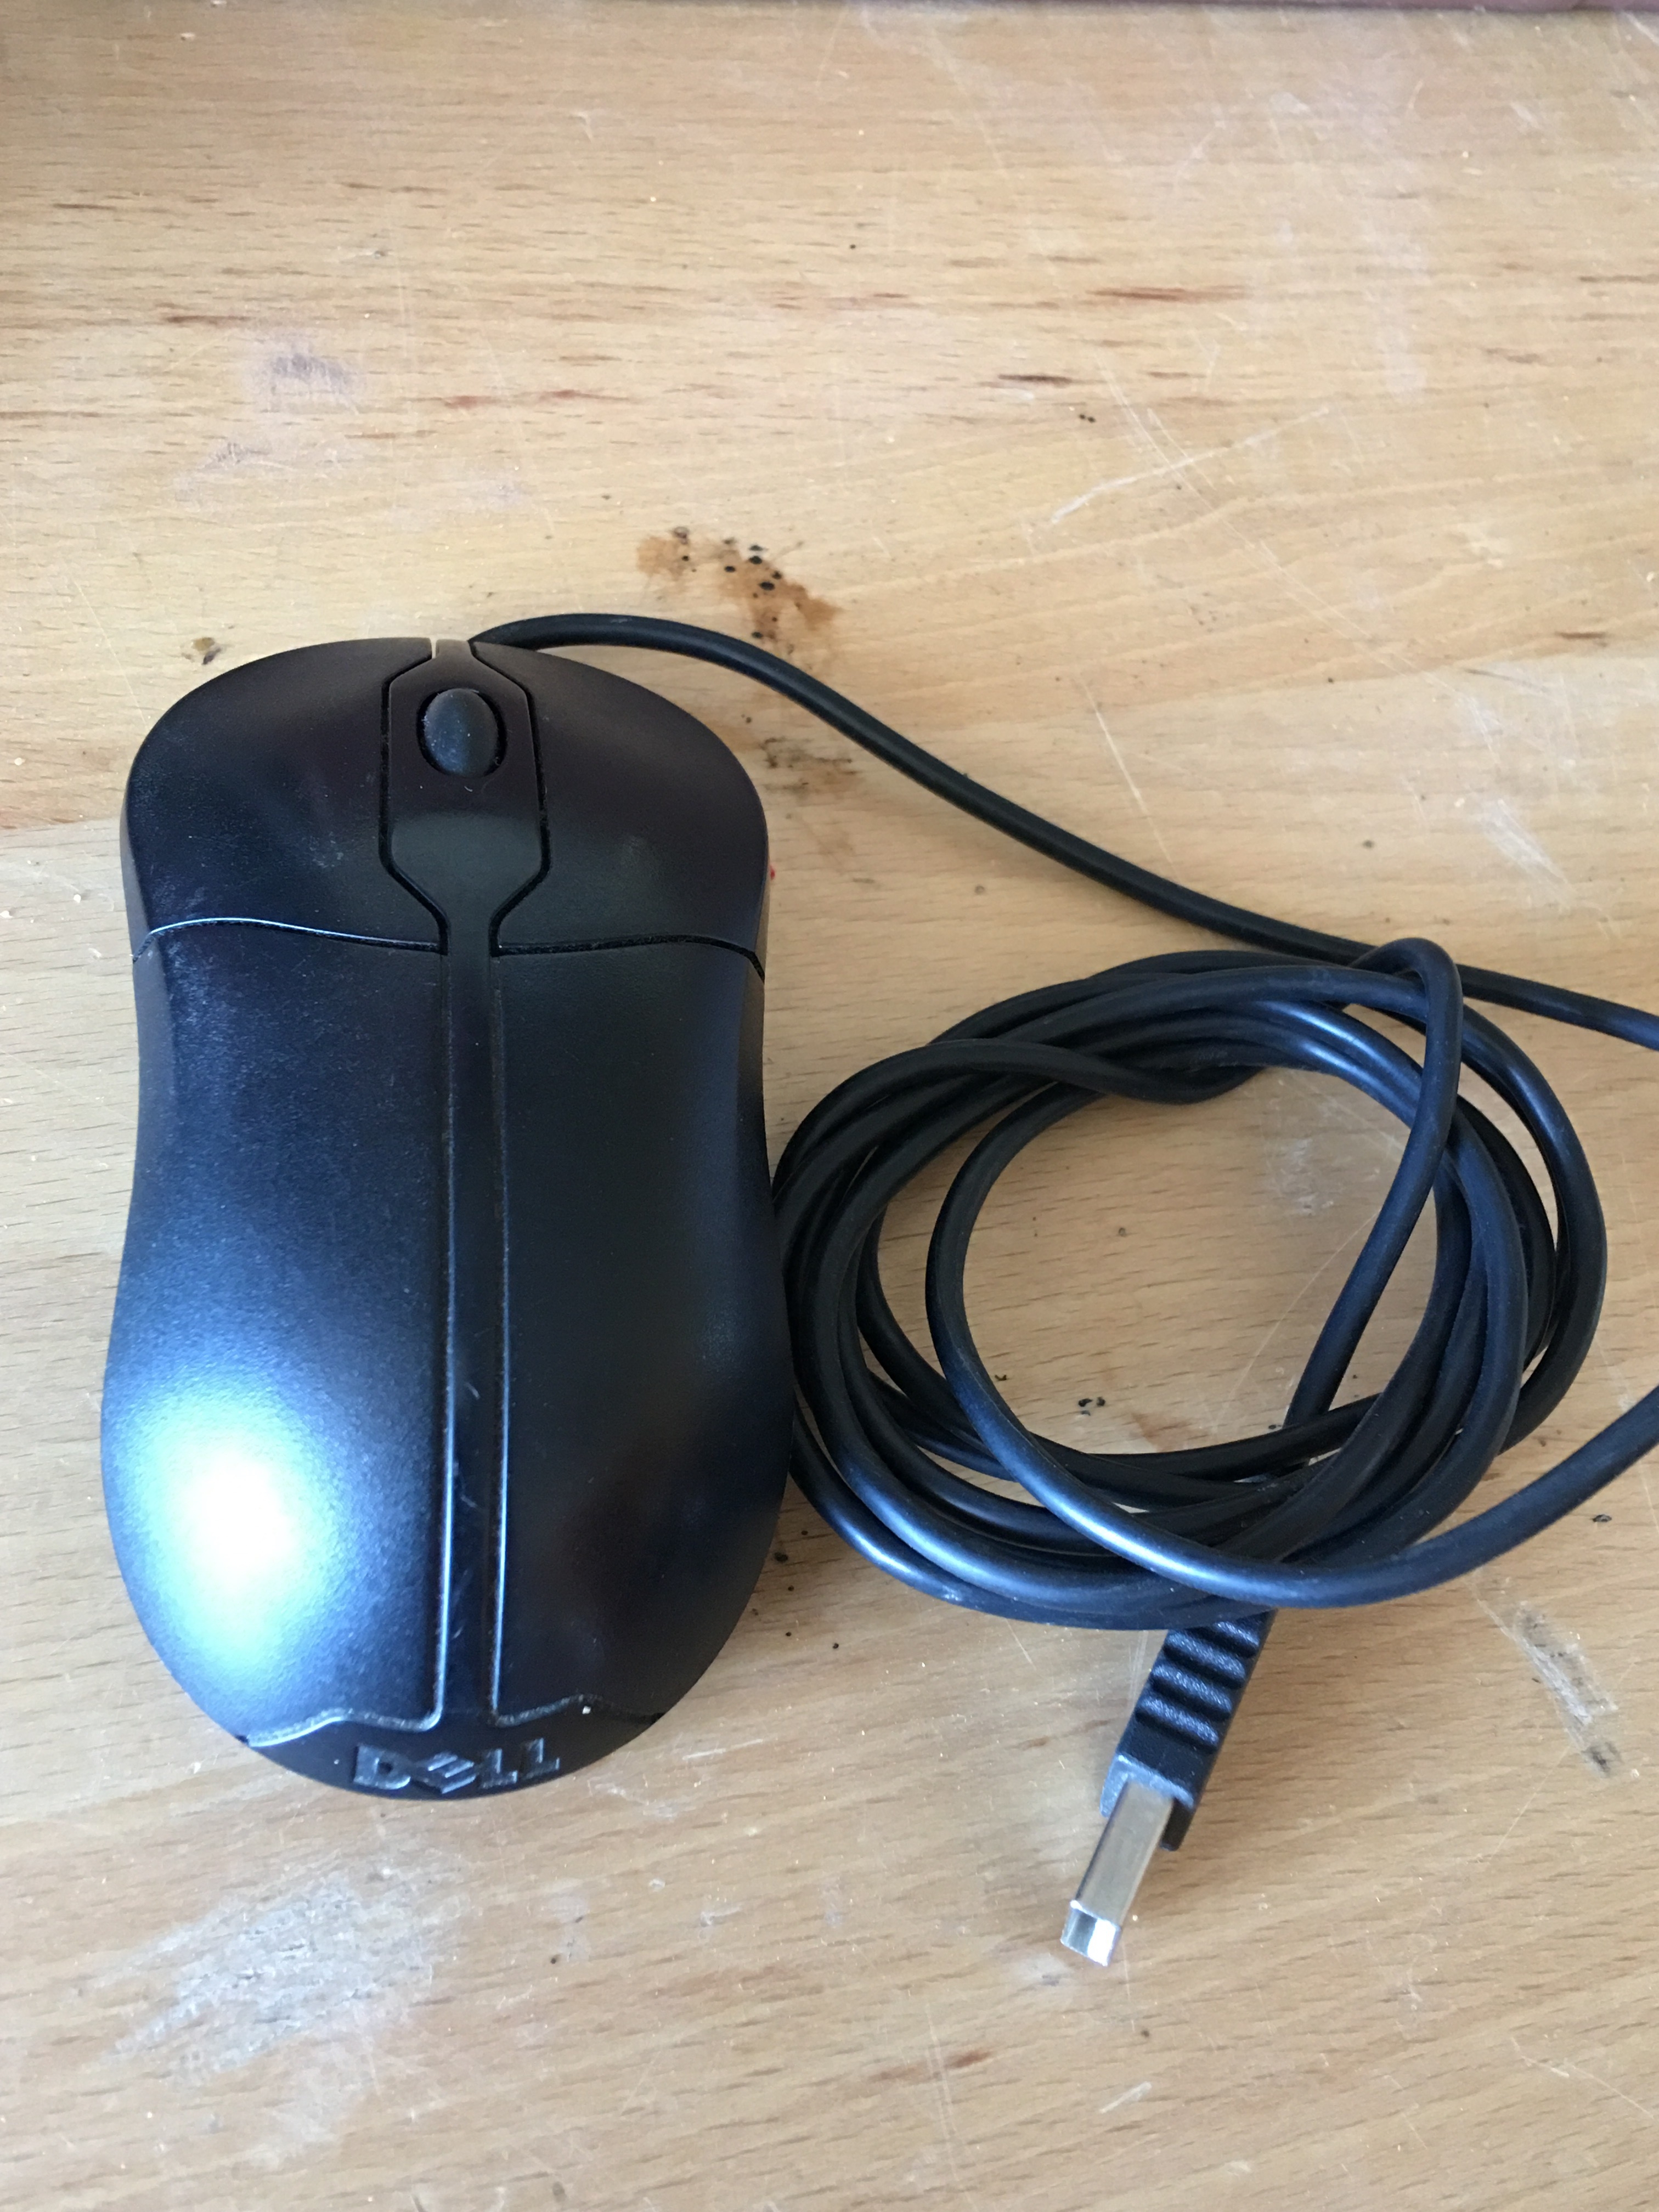
Goodwill $2 mouse
Dig in your technology junk drawer and pull out that old mouse that you threw in there. You know the one that didn’t work quite right but you couldn’t throw it away..We are not using the “tracking” section of the mouse- all we care about are they left and right buttons.
Flip it over- remove the case screws and open it up.
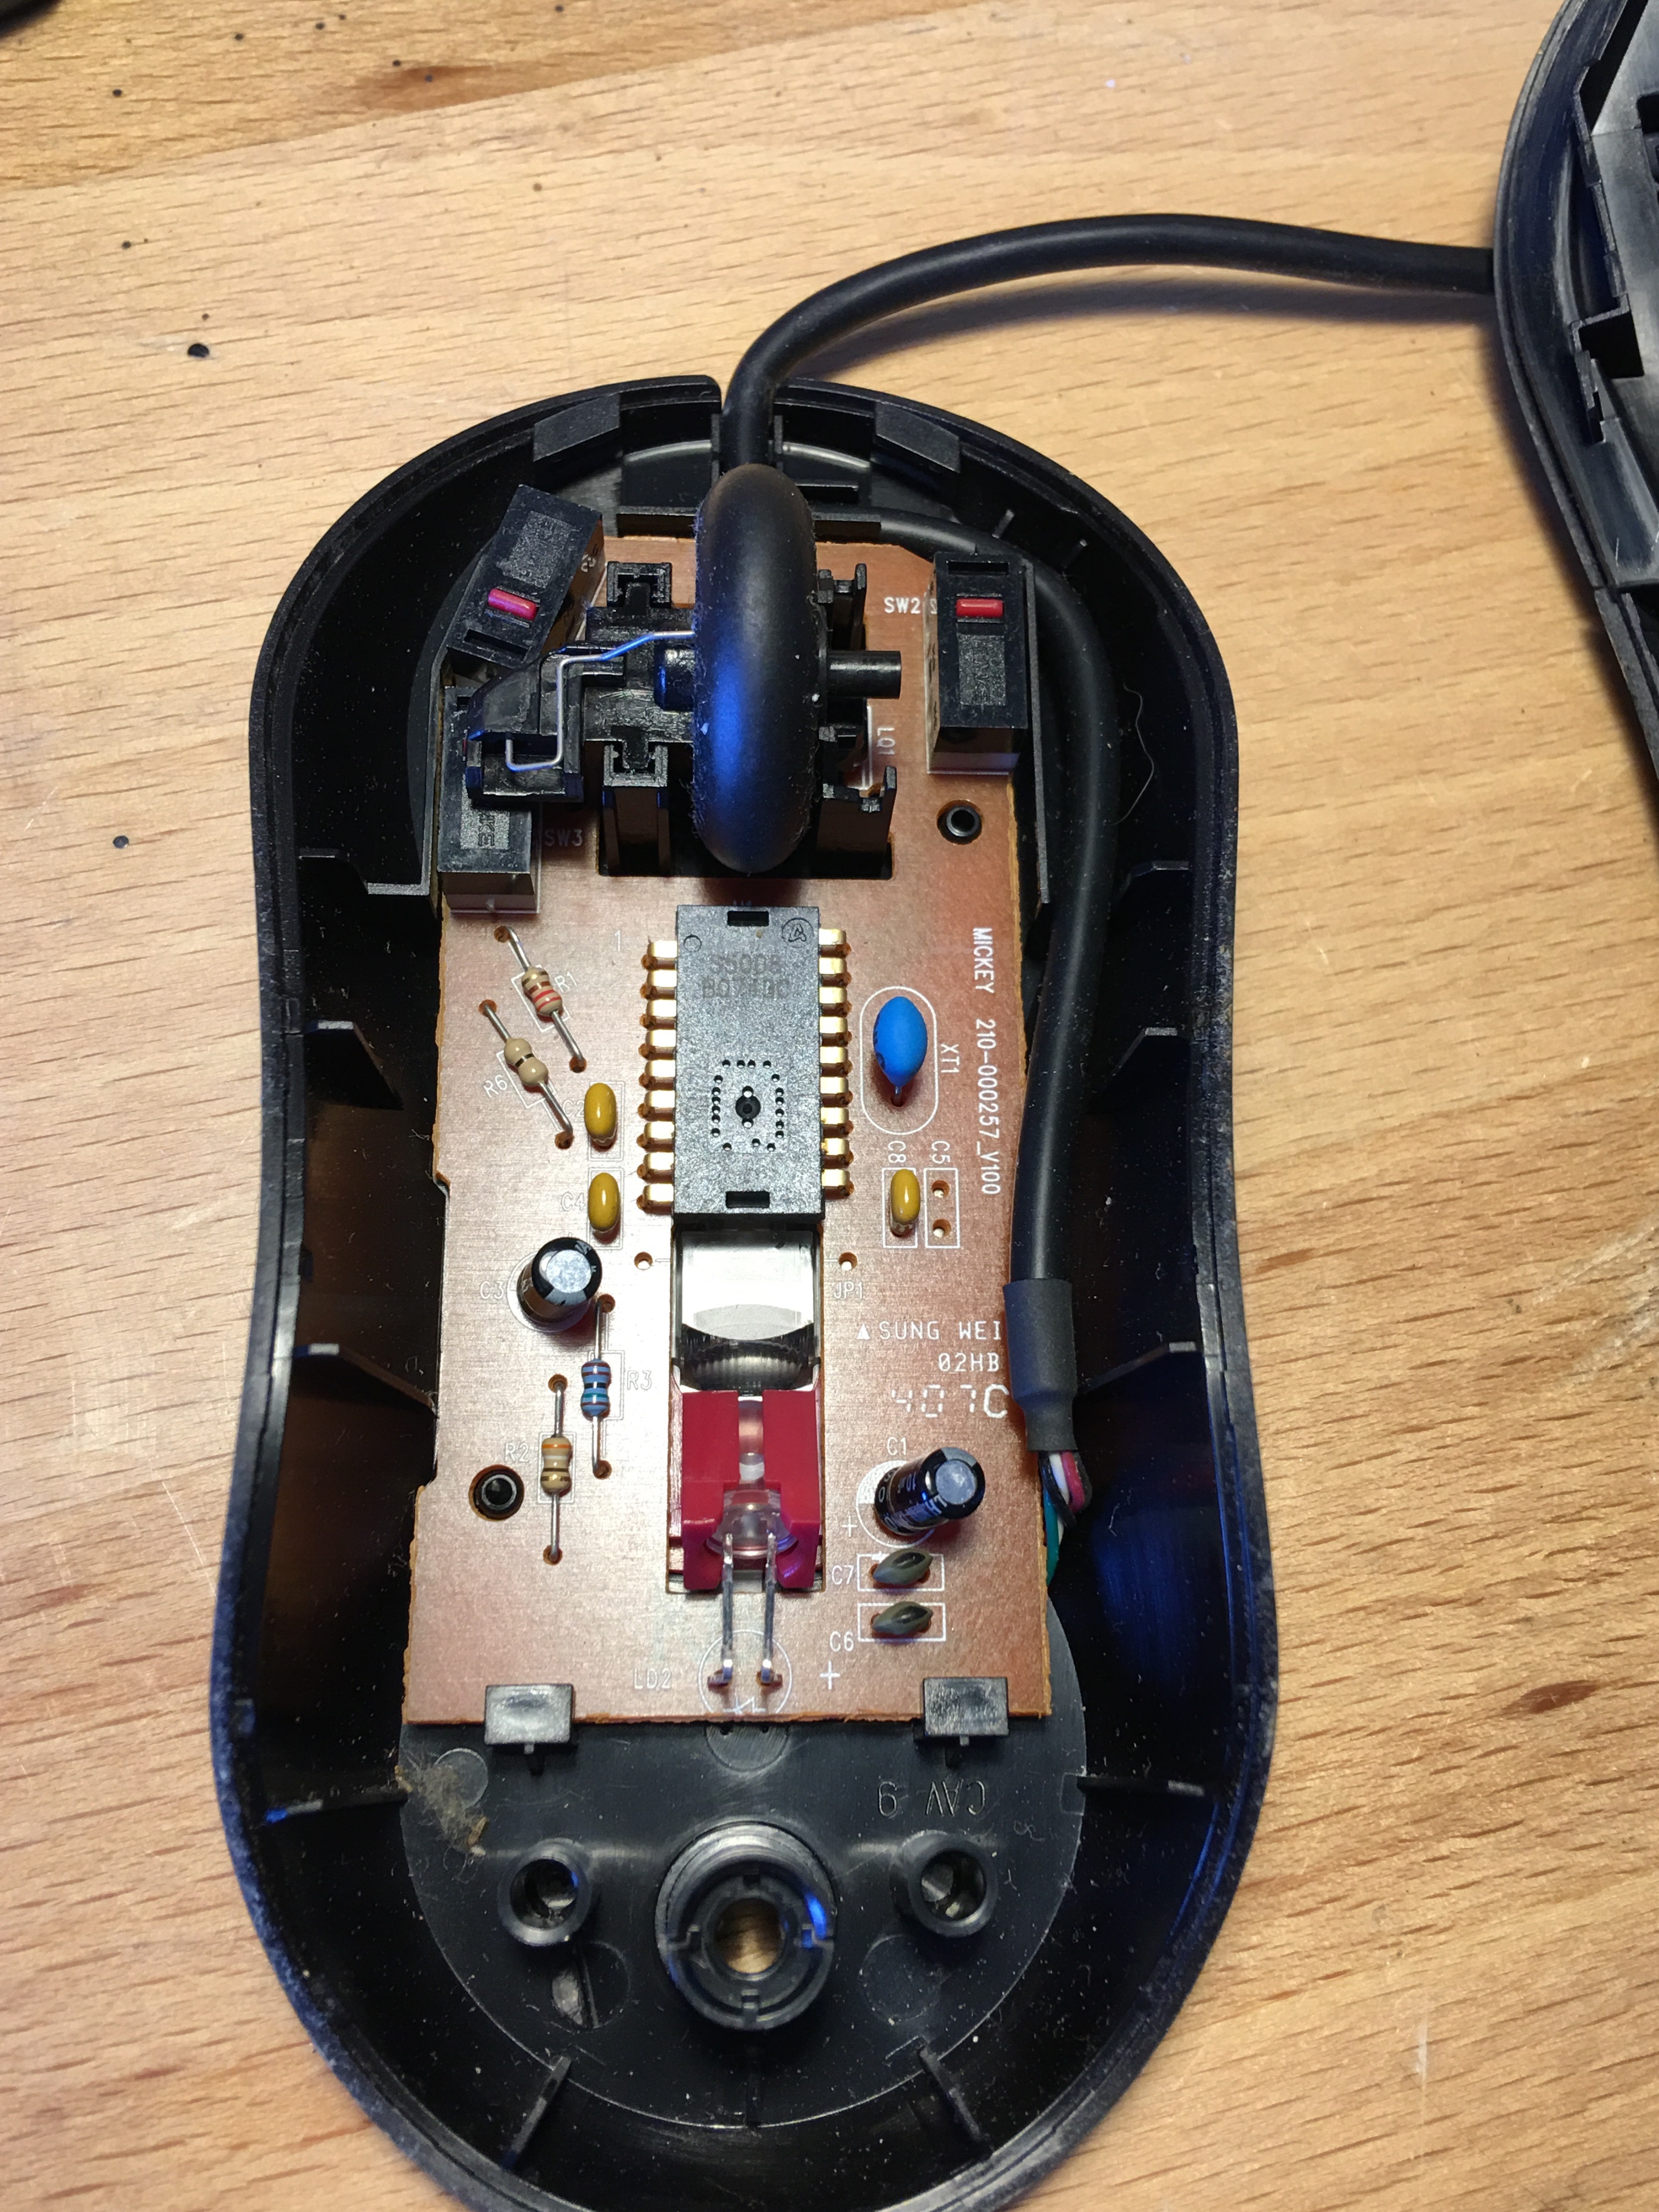
You will see the two micro switches used for the left and right mouse clicks as well as the “spare” switch that is connected to the scroll wheel (if your mouse has one) that could be used as a replacement if one of your switches start to go bad.
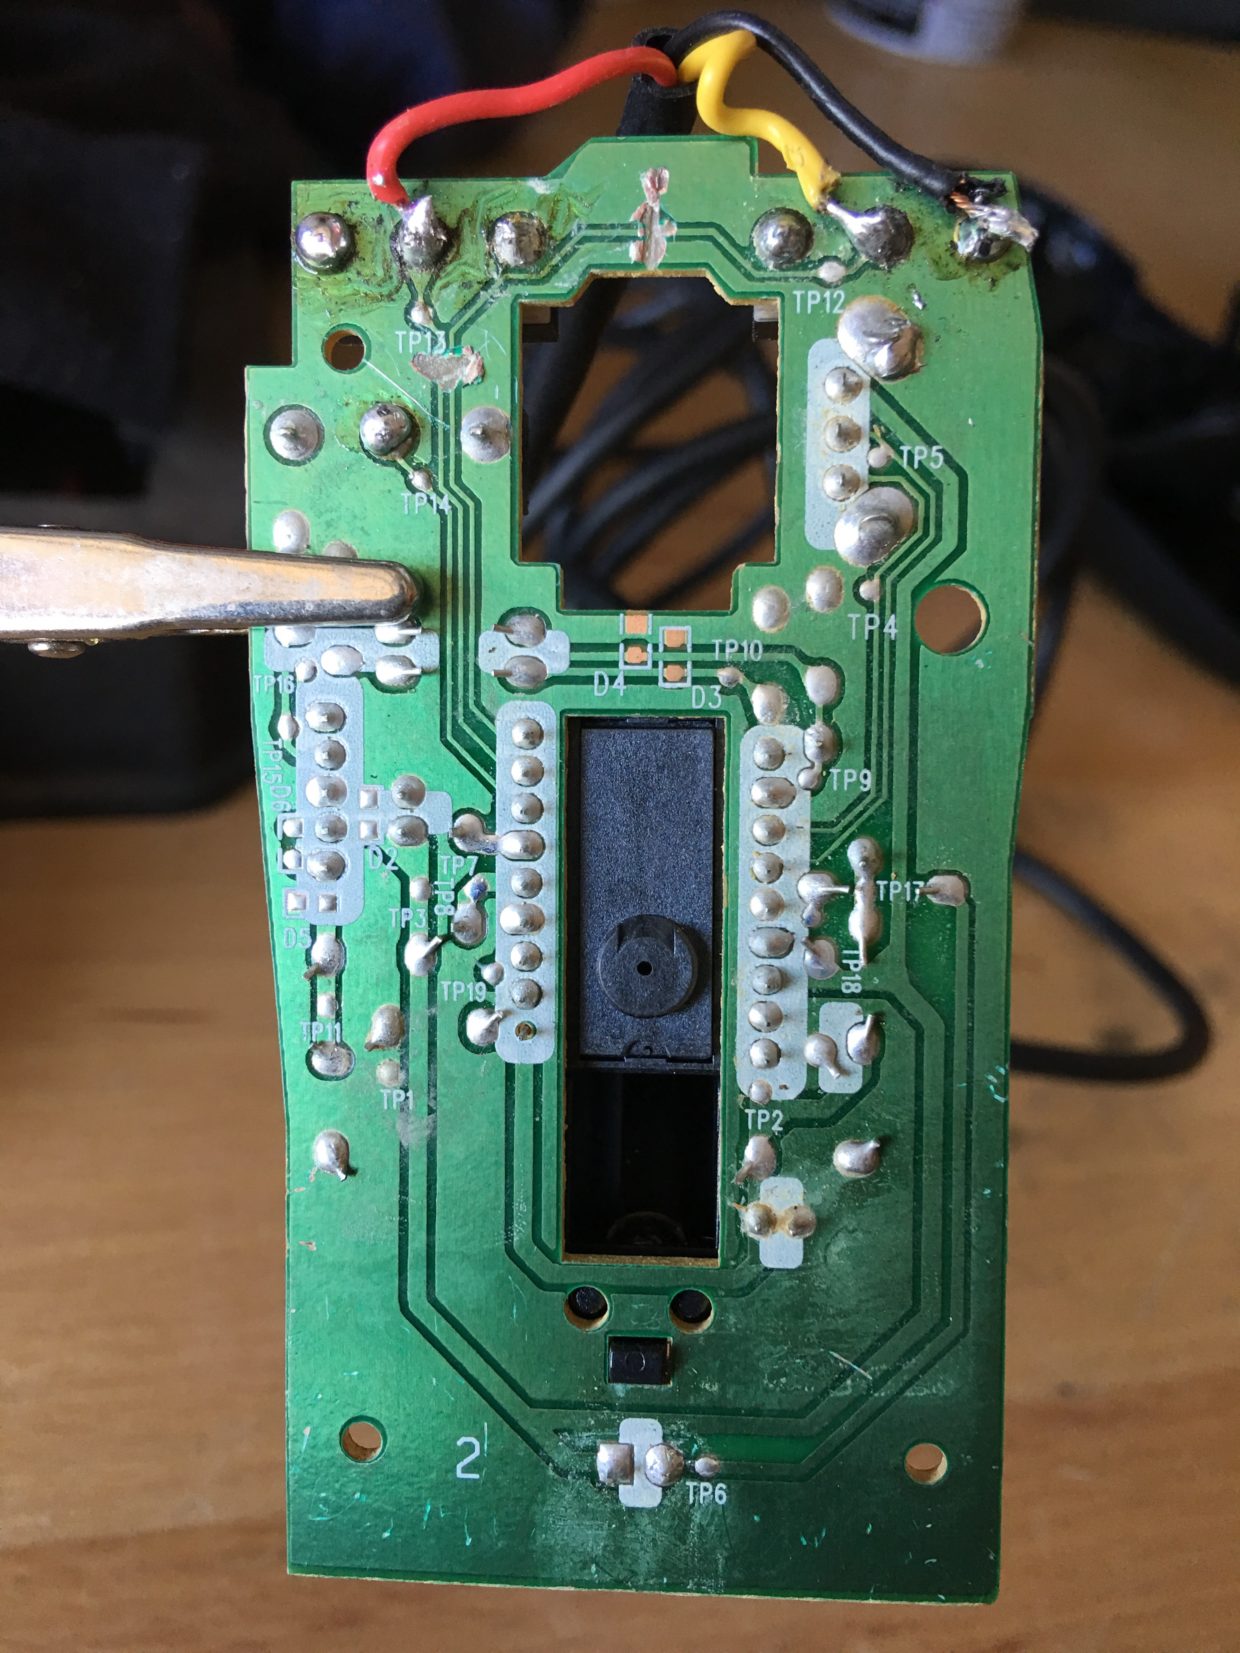
Pull the mouse circuit board out of the mouse case and flip it over- here is where you need to make your solder connections.
Wiring the mouse switches for CW
At this point- you disconnect the USB cable from the board and strip three wires. Then cut off the USB connector, and wire the same three cables to a 1/8″ or 1/4″ stereo jack (If using a Yaesu radio). I had half of a radio shack stereo 1/8″ cable from another project so I just used that- but you can just use the resisting mouse cable if you have the stereo jack for the radio end of the cable.
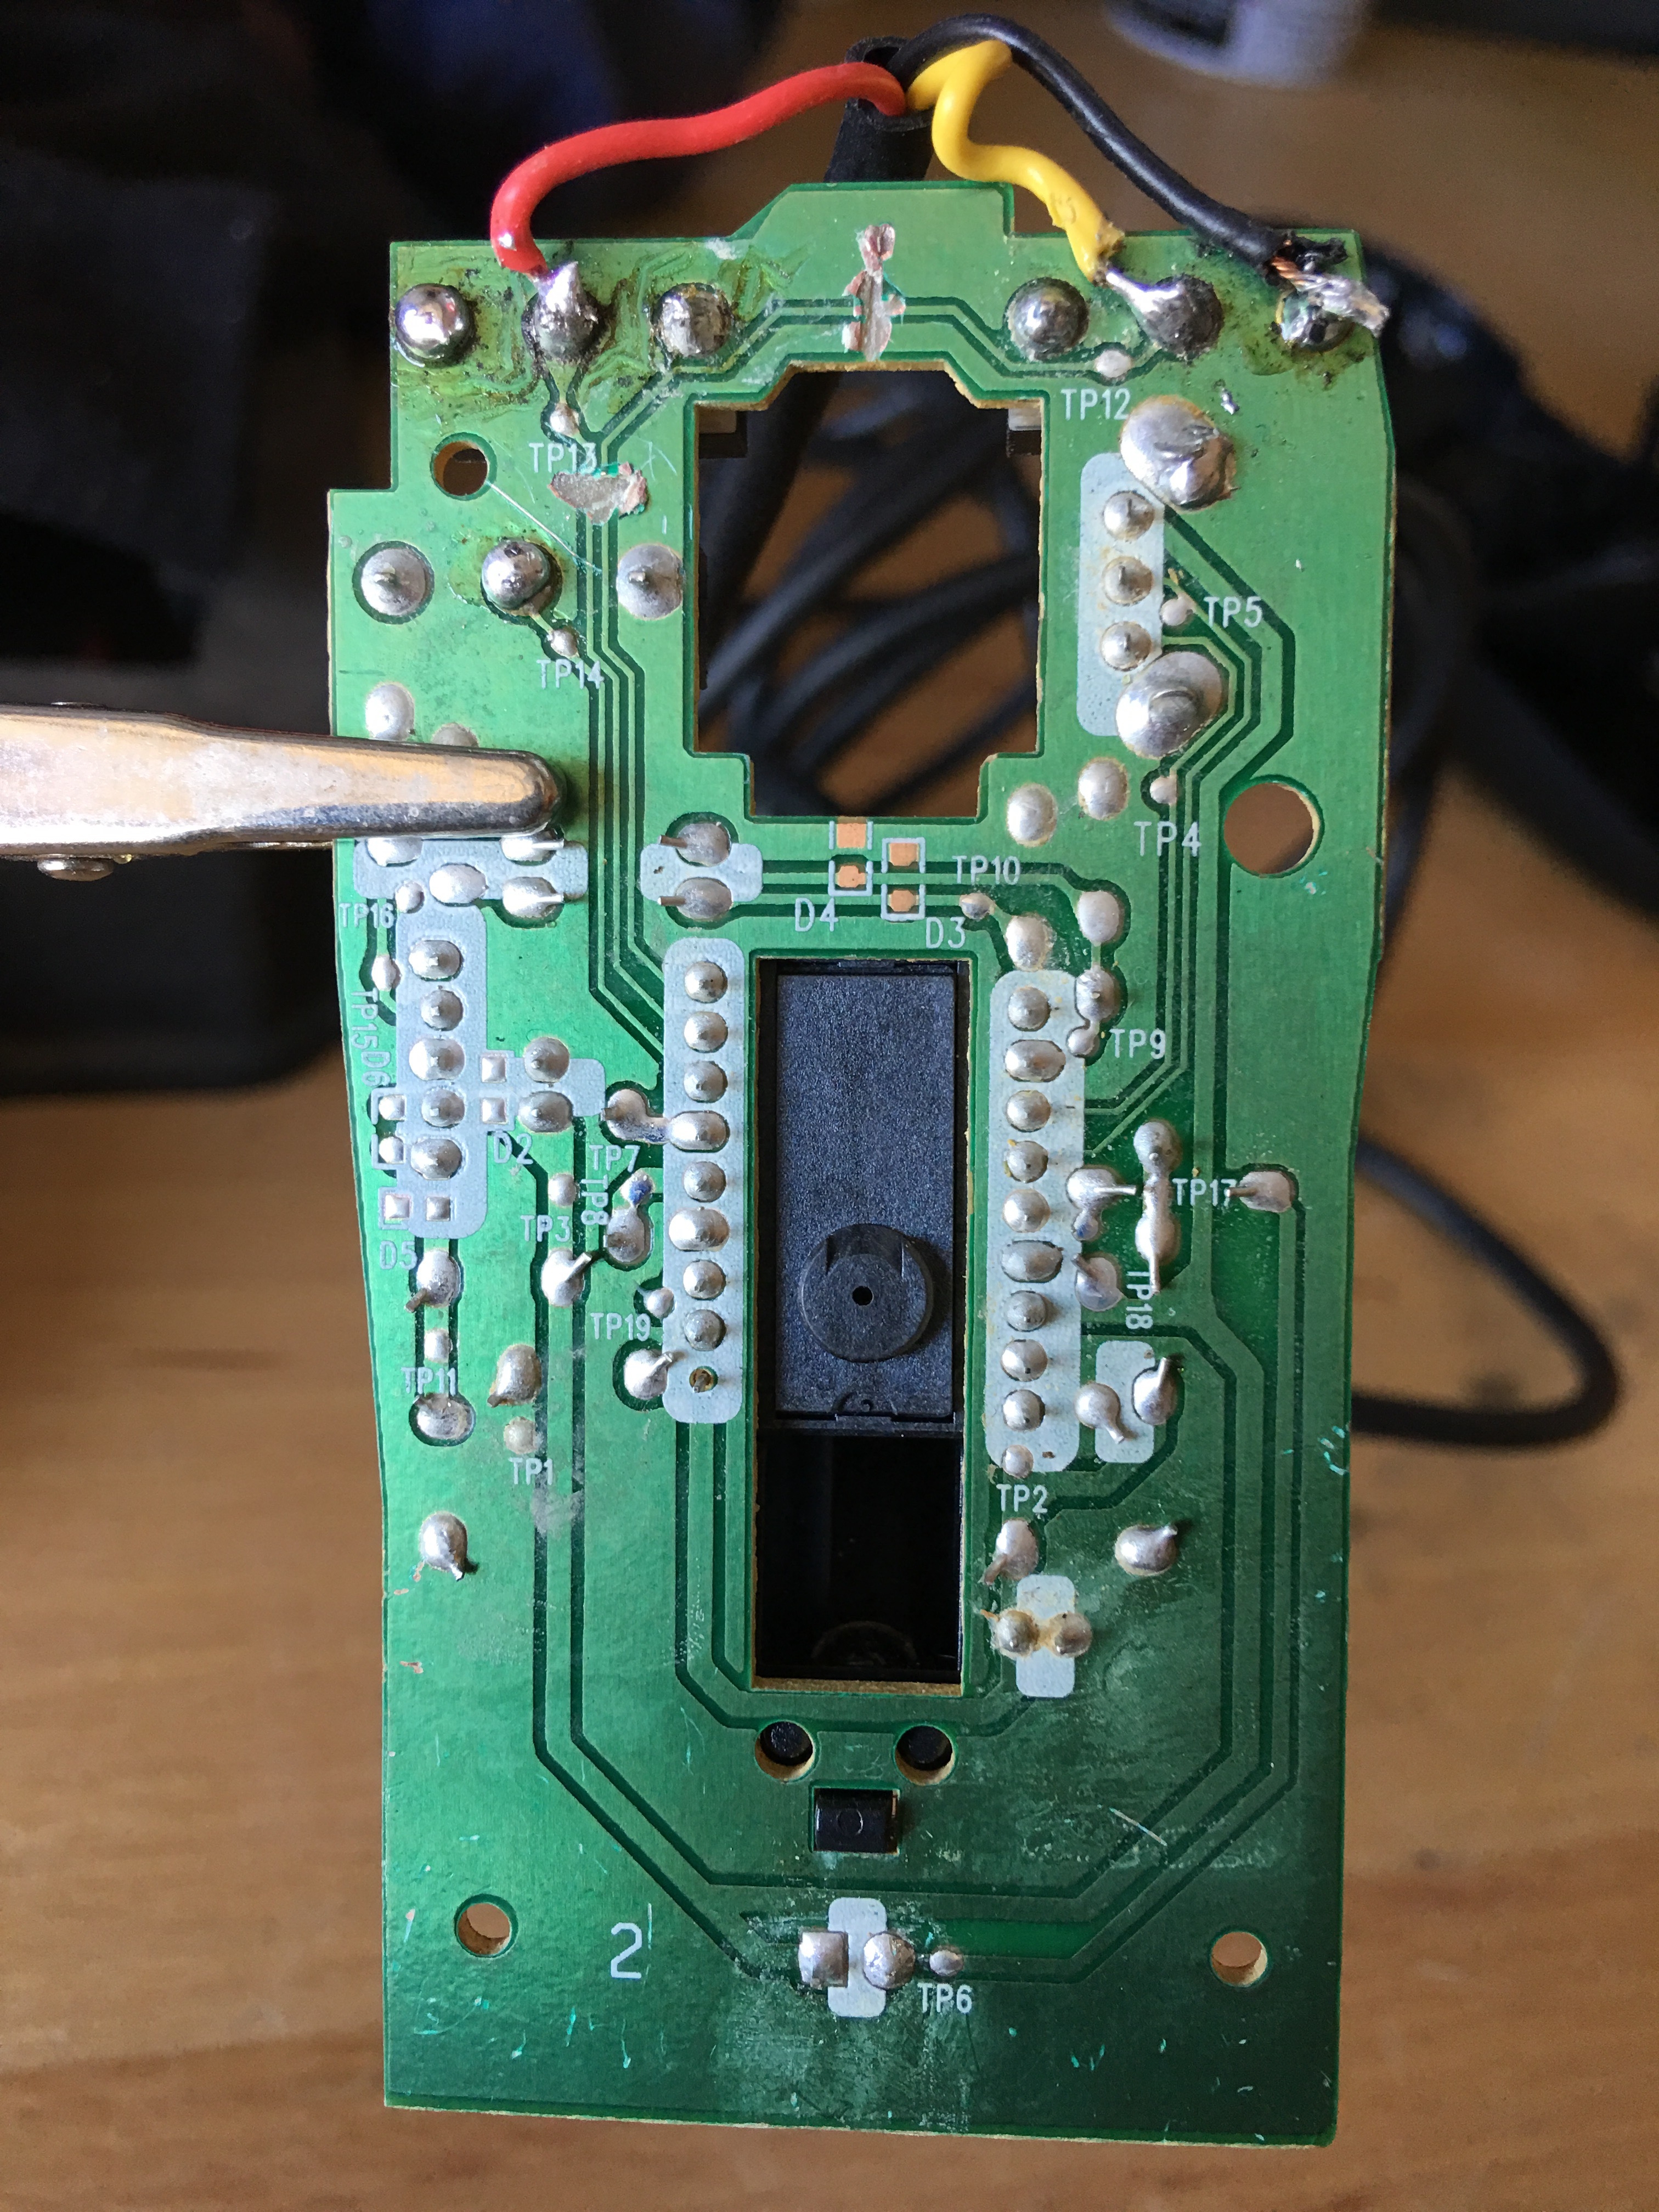
You will also notice that I broke the trace on the board at T13 and between the two switches- you will want to do this to isolate the switches from the rest of the mouse circuit. I just scraped it with a utility knife. If you don’t do this, when you push both buttons at once it will throw the mouse into continuous key mode even after you release the switches- and you don’t want that.
Use your VOM to find the two contacts to found the switch when you press it. Two of them will read zero ohms when the switch is pressed, then another combination will read zero ohms when the switch is not pressed. You want the two that read zero ohms when the switch is pressed.
One wire to the short tone one wire to the long tone, and the ground. (Tip, middle and shell of the stereo connector- the ground being the shell, tip and middle bases upon if you want dots or dahs on the left or right “click”.)
Close the mouse shell back up and connect it to your radio and you are ready to go!
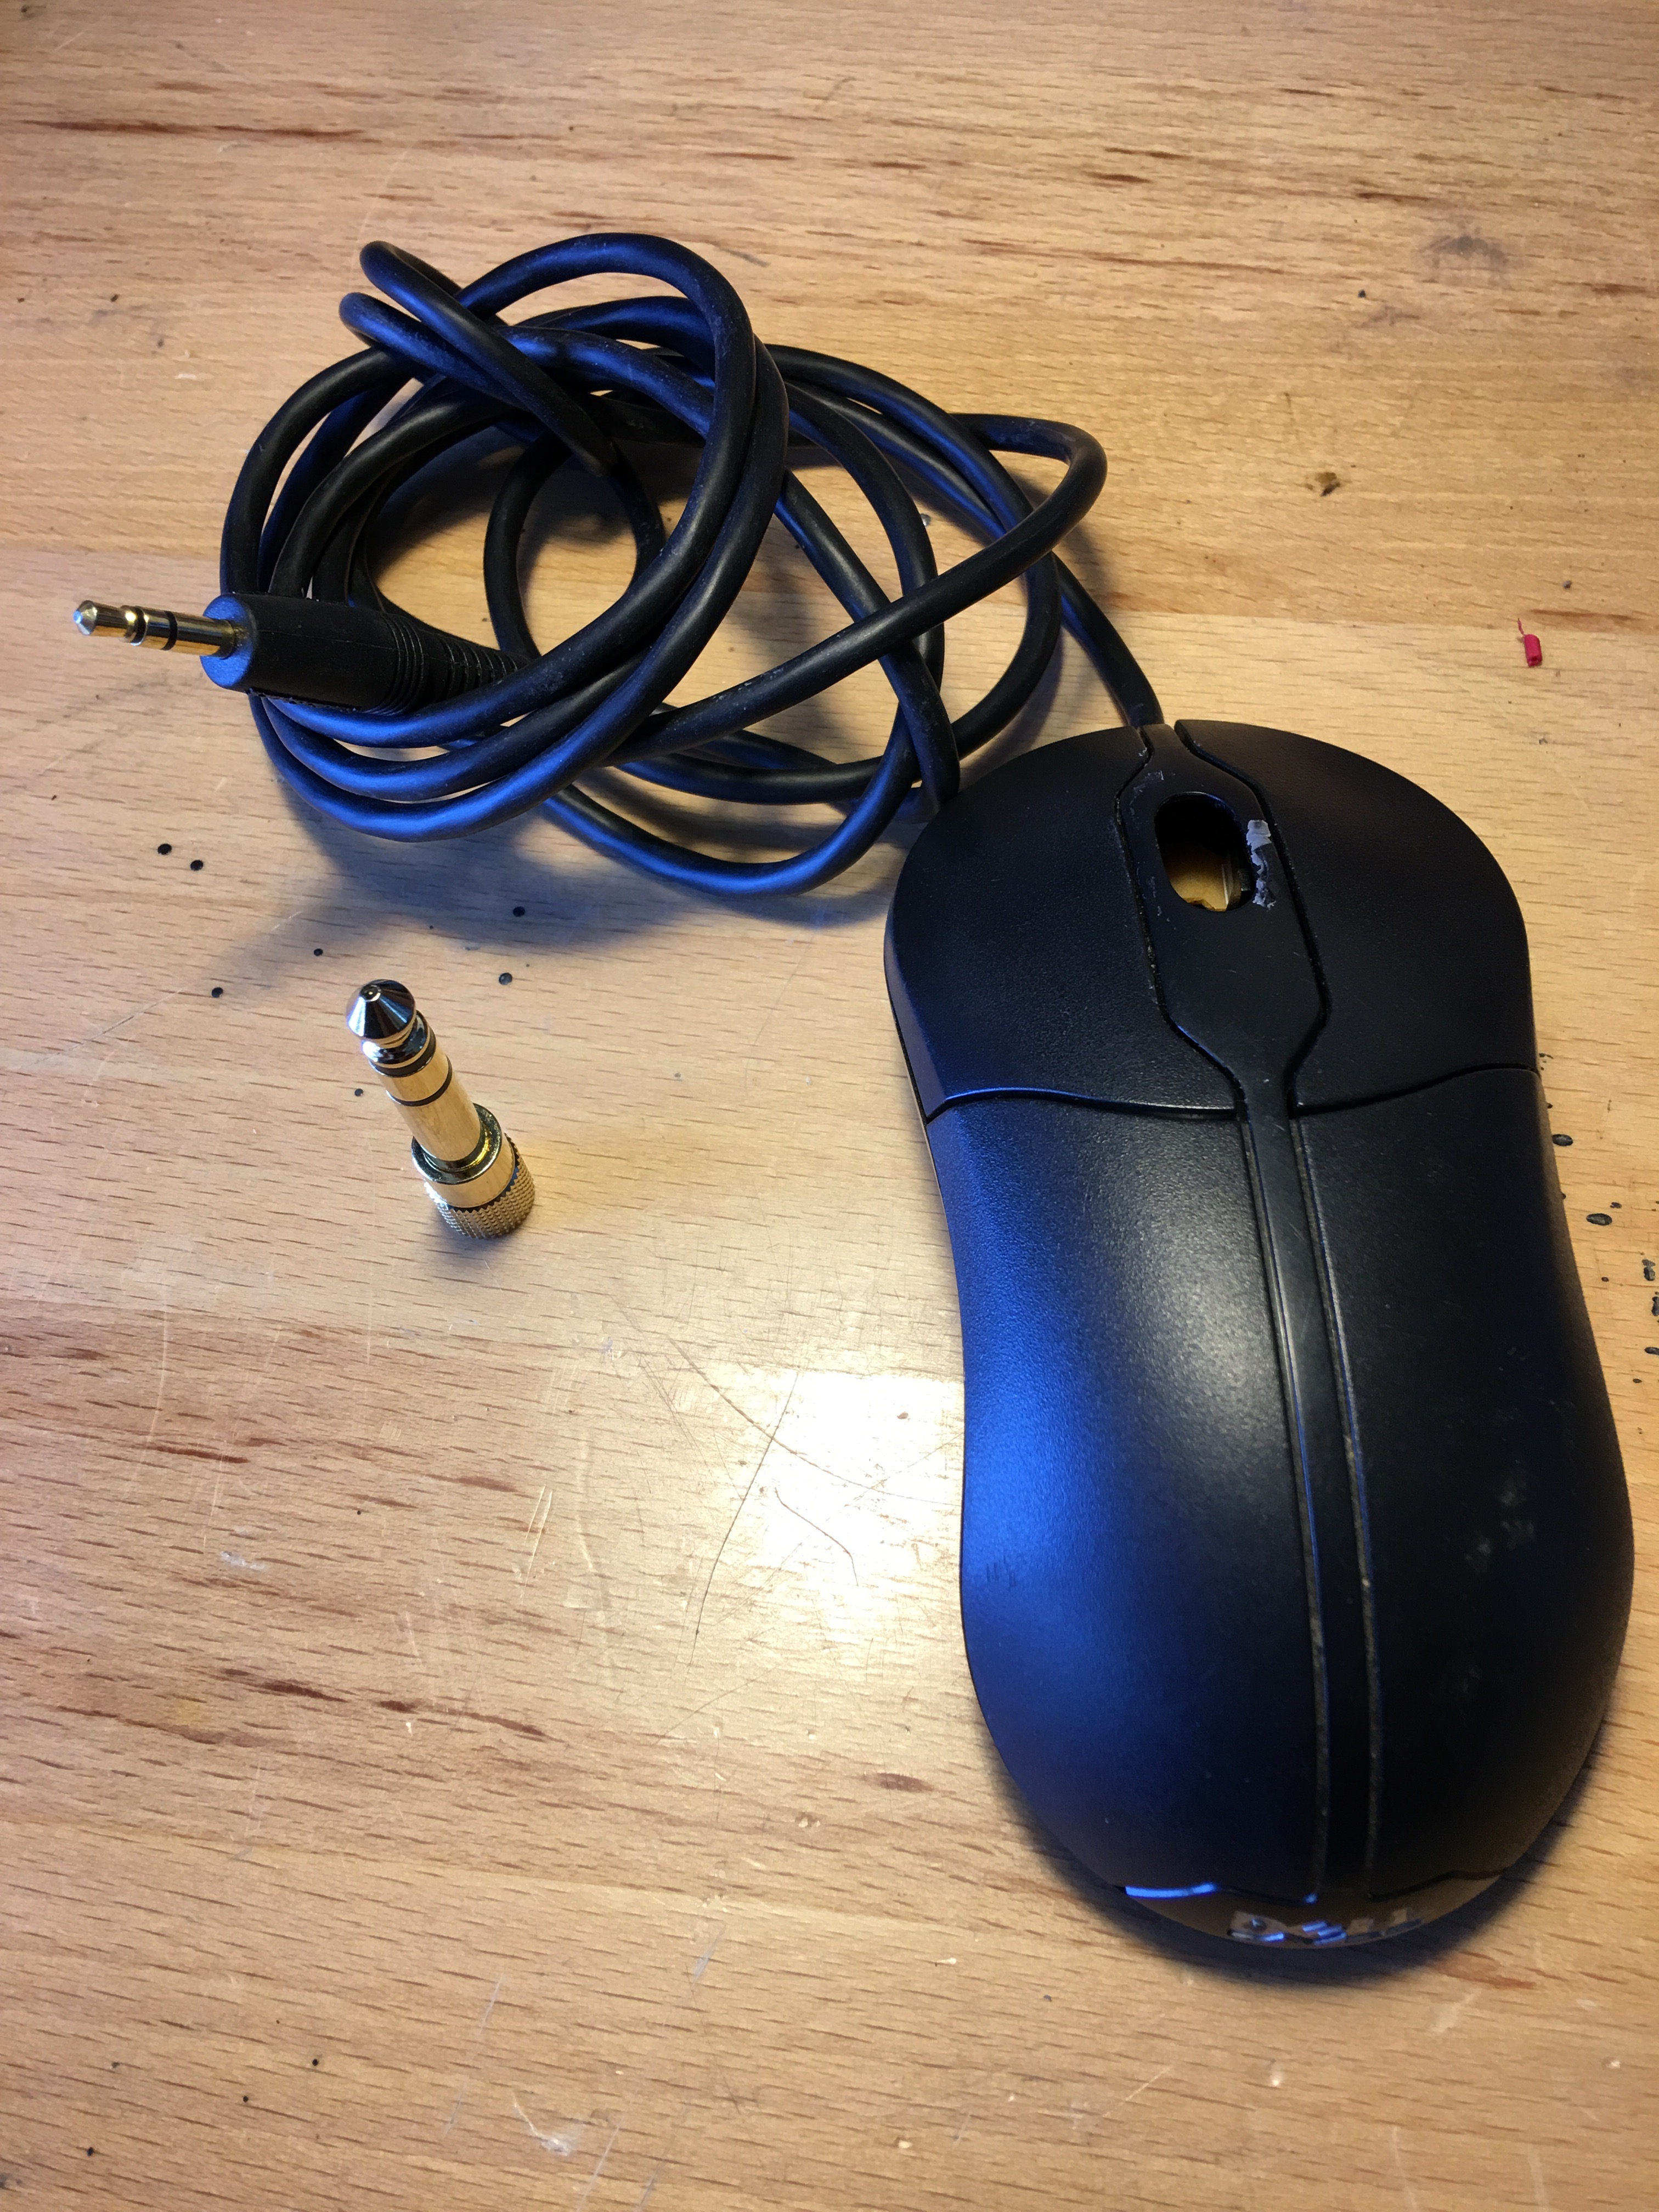
CW mouse done! With 1/4″ adapter
You will see I pulled out the scroll where as well as I didn’t need it- and it saves weight. I put some black tape or glue to cover the hole.
Perfect for the travel kit or the backpack or the mobile and if you break it or loose it- it is a two dollar and 15 minute replacement.
It works!
See you on the air!