The quest for 1296 EME
Well, the dish progress is coming along, albeit slower than I wanted. Last summer I collected the 10′ TVRO dish from a Joe, W7ISJ in Tuscon. He had two 10′ dishes, one on the ground and another that was still mounted on the pole. Due to the fact that is was August and very hot, I went the easy route and grabbed the dish that was on the ground.
The dish screen was pulled out in some of the sections, some had small tears, and the weeds had grown through the dish for a few years.
I was fortunate enough to have Dave, AC7FF bring his truck to haul the dish from Tuscon back to San Tan Valley.
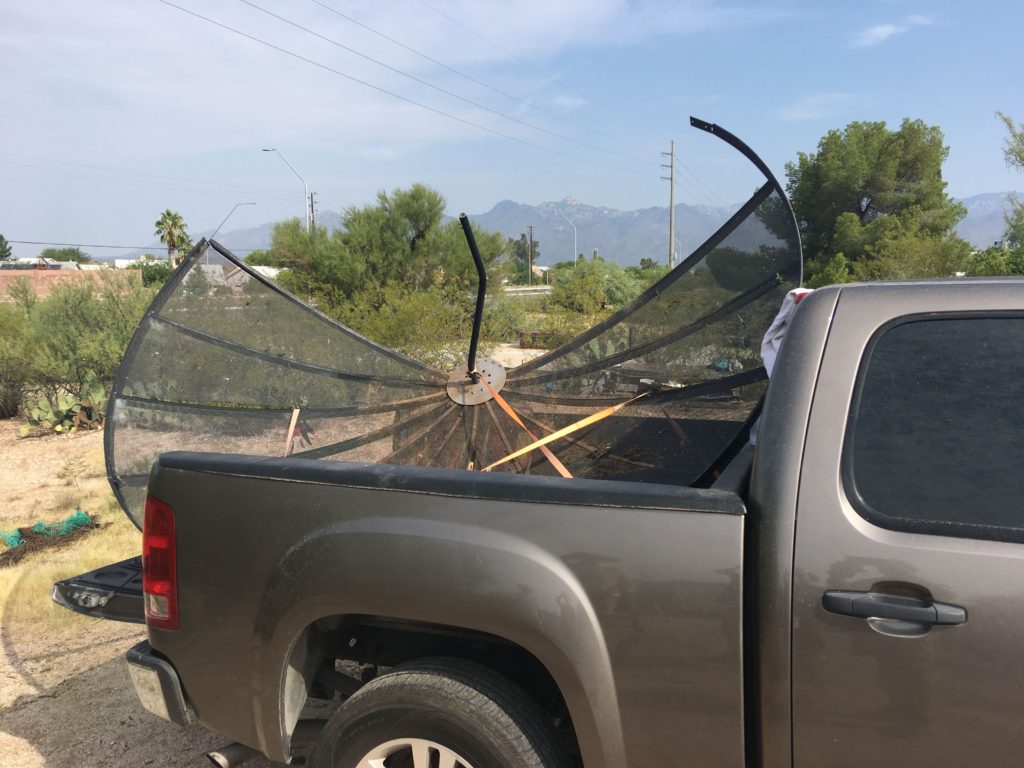
We had to take some of the ribs apart as well as pull out the screens in order for it to fit in the truck bed. The thing with these dishes.. the screens come apart real easy.. but going back together, that is a whole other story.
Flash forward several months, I decided that I needed to get to work on this project again now that the 144 MHz EME project was stable and working stations. The dish was in the back yard, but I needed to address some of the rips and tears on some of the screens. I pulled out the ribs, and slid out the screens, then used Christmas tree support wire (steel wire) to “stitch” the holes of the dish back together. Finding information online on what and or how to do this repair is very hard to find, so you have to kind of “roll your own” when it comes to this.
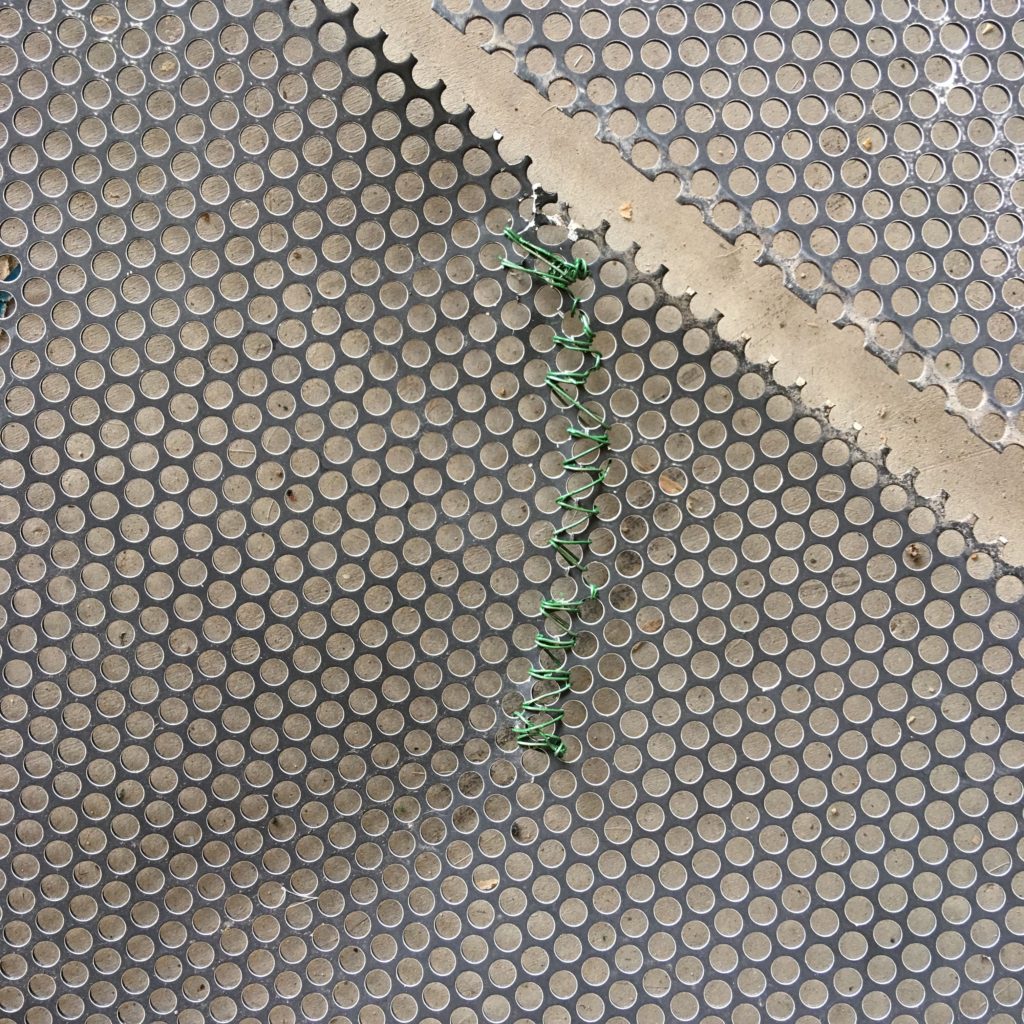
I fully realize that this “bump” in the dish would not work for the higher GHz frequencies. But for 1296 – I know I can get away with it.
All in all I had three screens to repair.
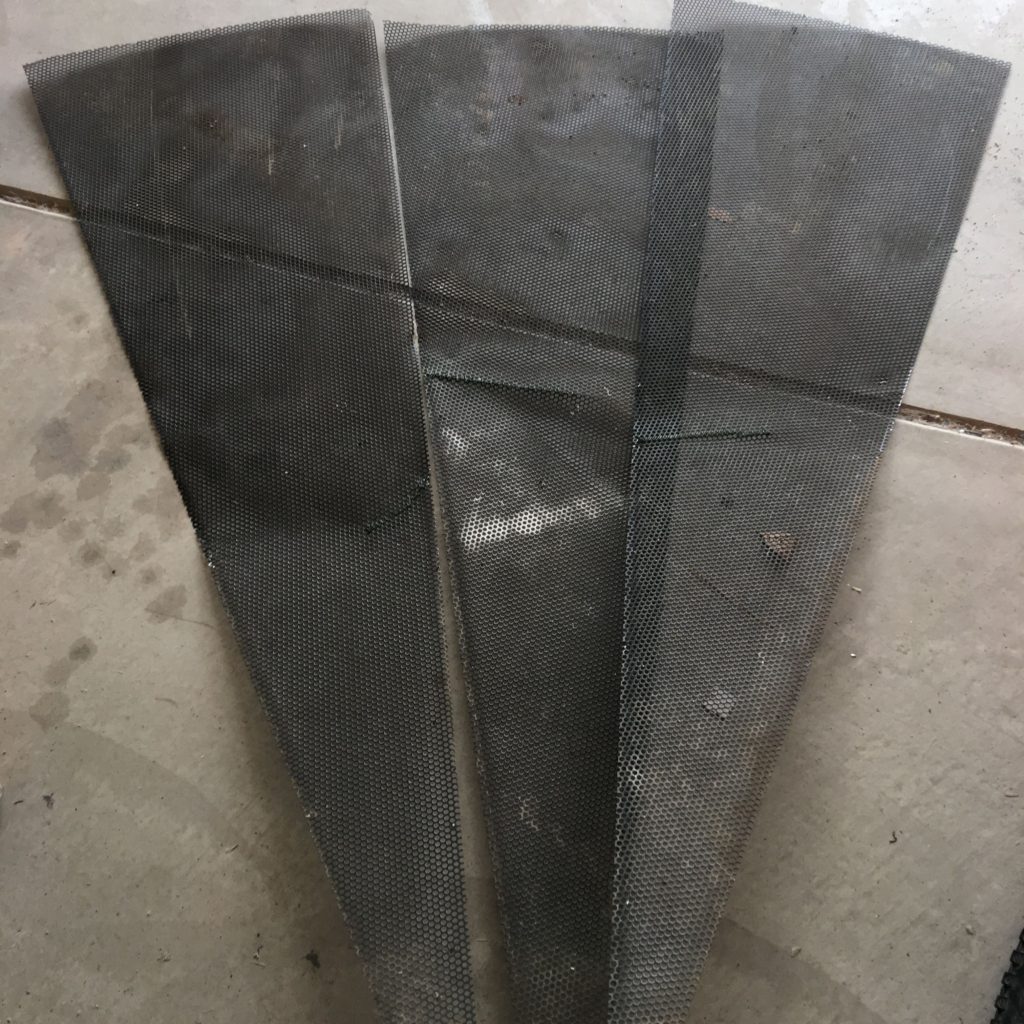
Three panels “sewn” back up and ready to be installed again.
Assembly
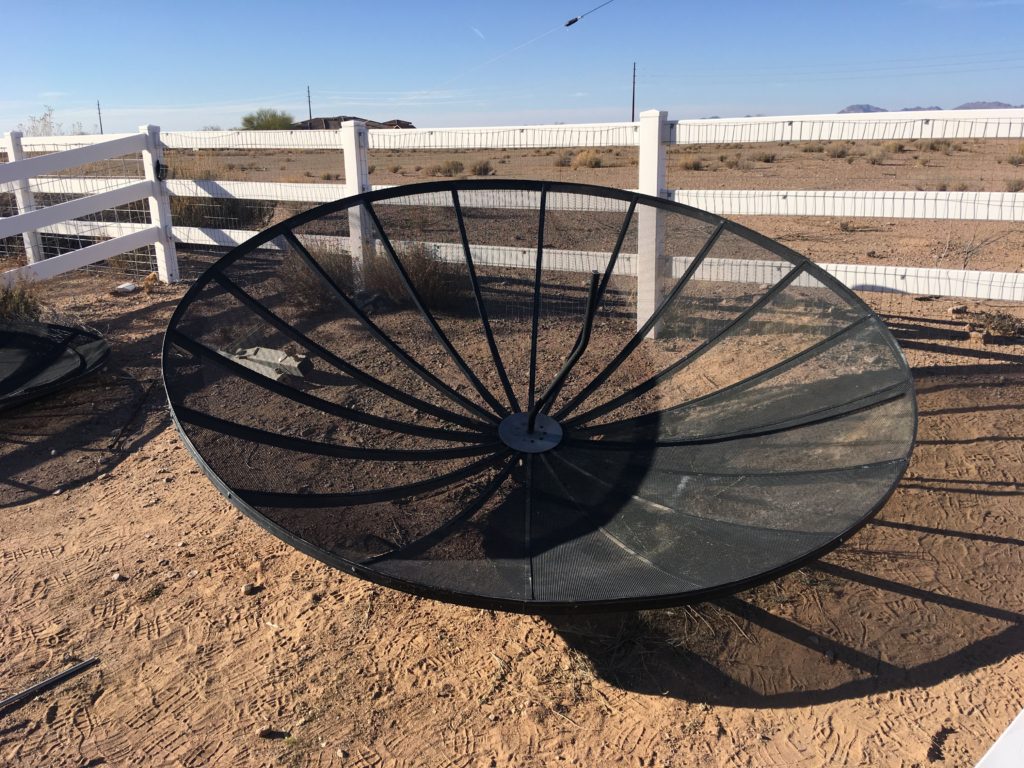
So now that the panels were stitched back up, it was time to get the dish back together, so I could work on the next phase, the addition of the support arms for the septum feed. The dish as it sat in my backyard.
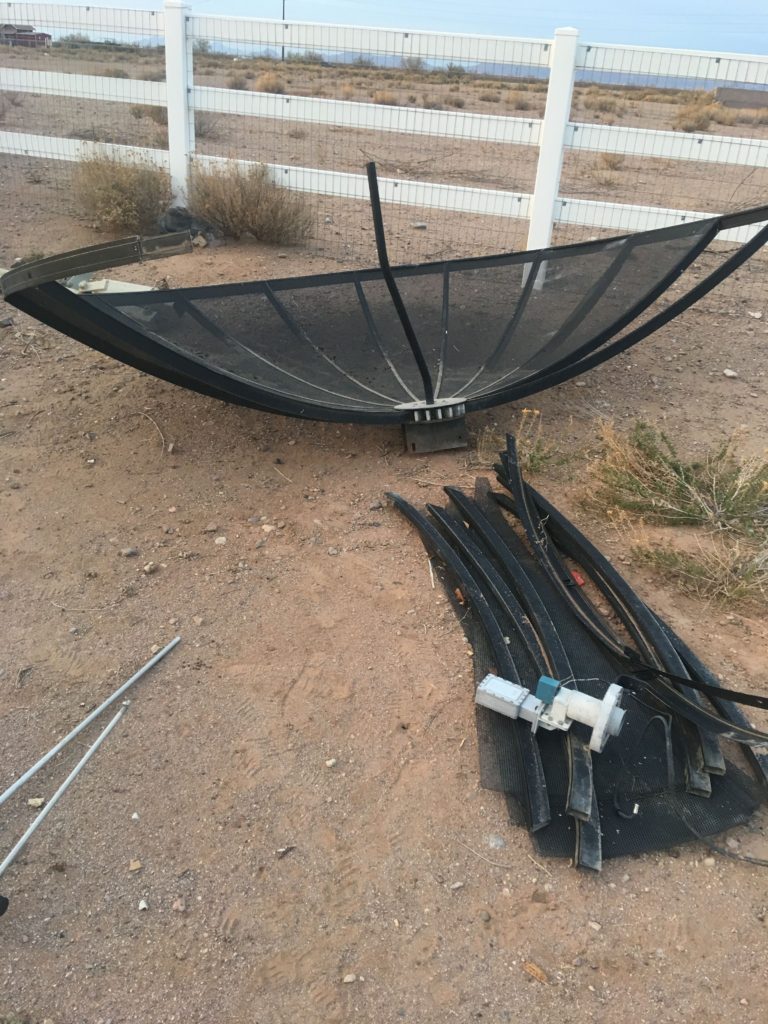
The dish waiting to get back together.
I had several ribs and the outer frame removed as well as the panels.
This dish was designed so that the mesh panels slides in and out of the ribs. You mount the ribs, then the panel slides down between then in this very thin channel. Pulling them out was super easy. Getting them back together.. Not so much.
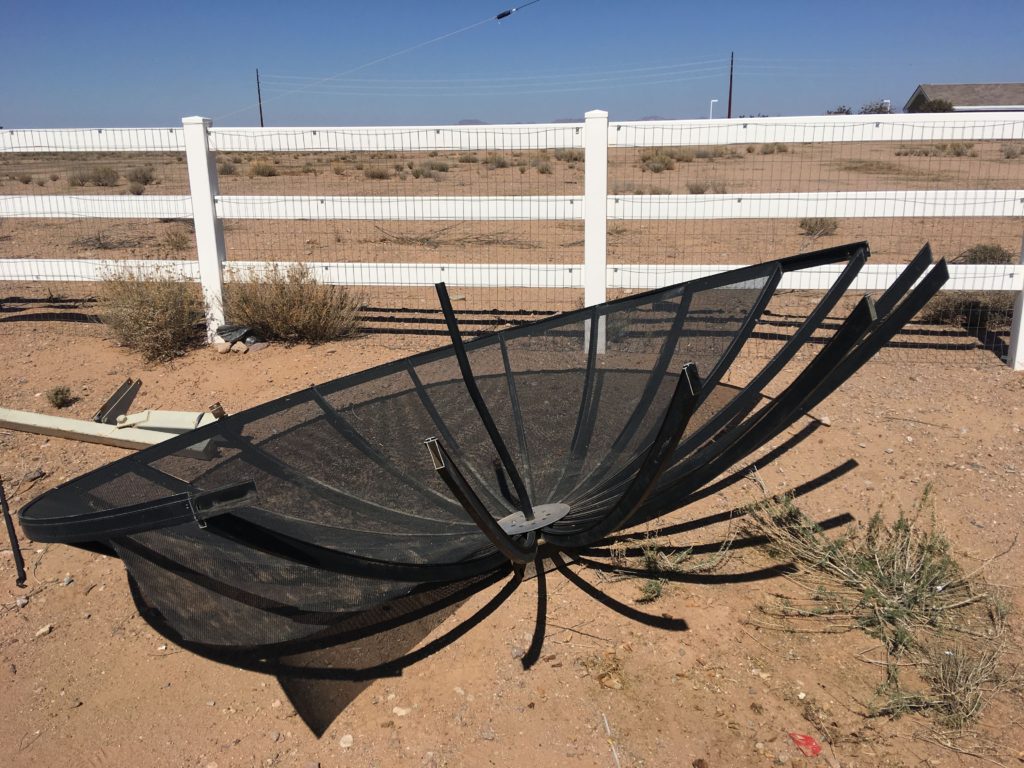
The first thing I had to do was to get the ribs back into place. That was fairly straight forward as I had labeled them all before taking it apart. The next issue was to get the screen to stay in place as I slid it down the tracks and not get stuck by sand or other debris. At the same time, you have to keep the screen centered. Push to hard on one side, the mesh pops out of the other rib. Fix that. Apply too much pressure, the top of the mesh pops out, or the bottom. It was a serious exercise in patience, and I was starting to loose the battle.
I was lucky in that Dave had a few hours to help me with it. He would hold the ribs in place and I would side the mesh down the tracks, then climb under the dish if needed and pull the mesh down until it met the center hub. Having two people was still a battle – but a lot more efficient and easier than one. After a few hours we had most of the screens back in, and now just needed to reattach the ring frame to hold it all together.
Remeshed! Now to just get the frame on.
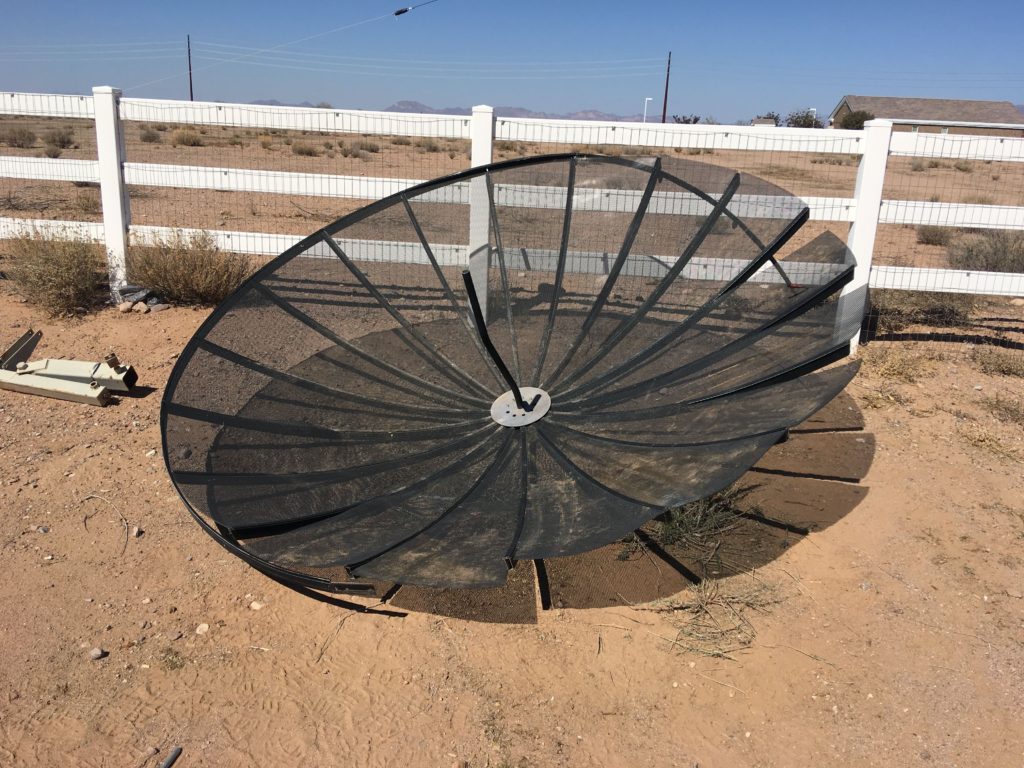
This last part went fairly smooth. Again, it took more time than I wanted, but with the parts that came with it and some liberal use of self tapping sheet metal screws – we got the dish back together.
The dish is back together! Wahoo!
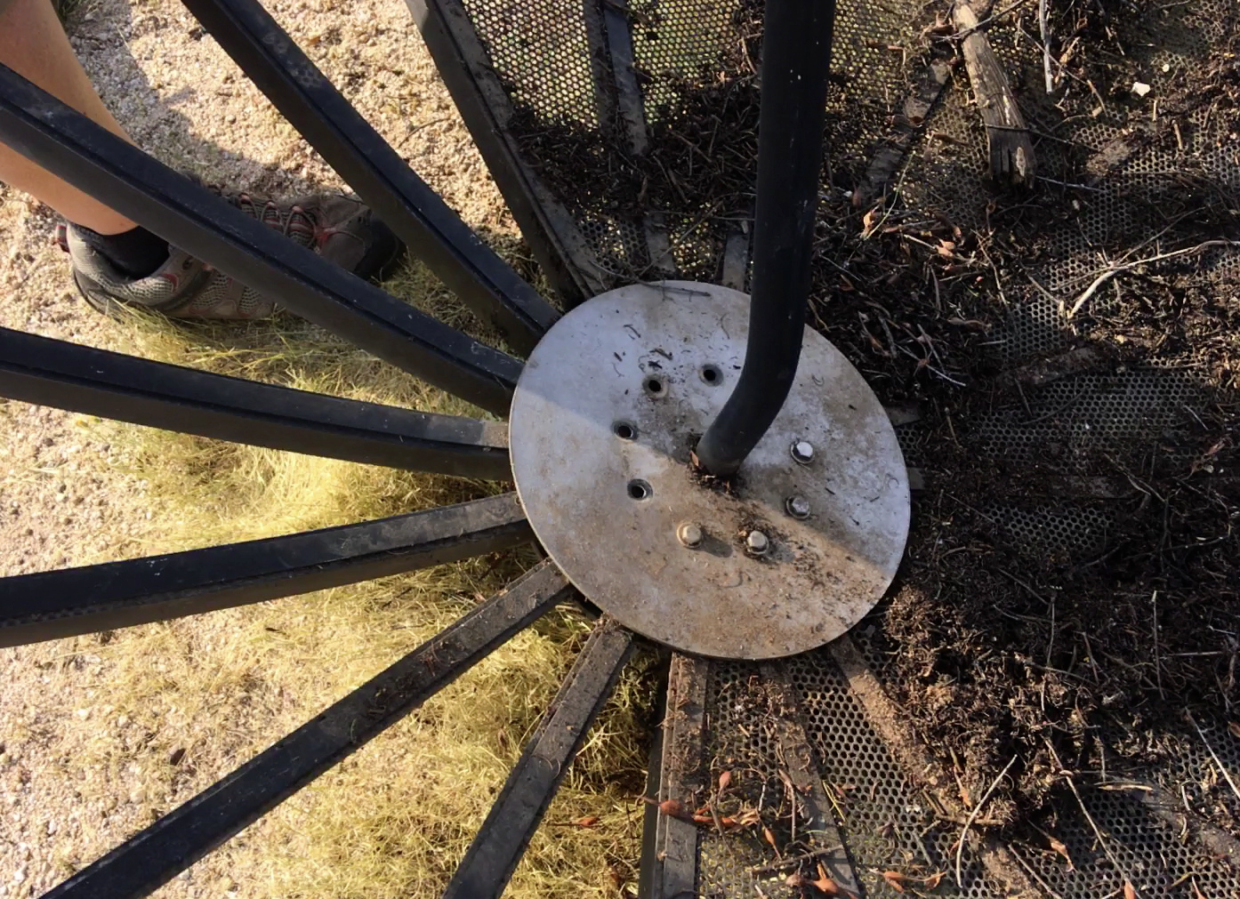
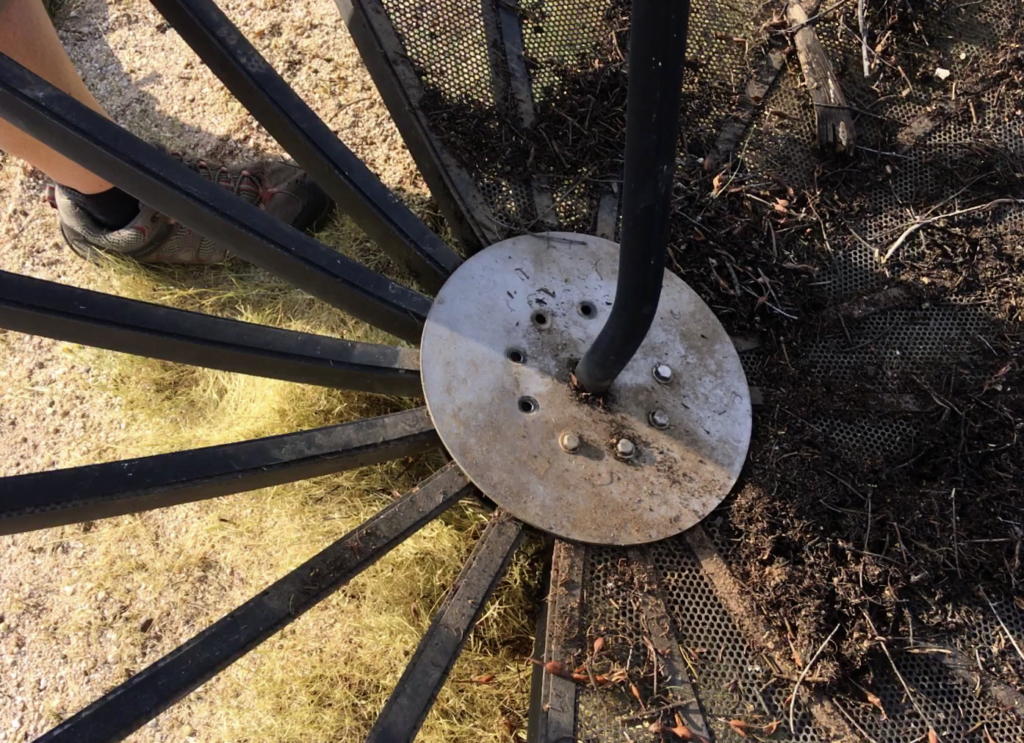
We kept the center “button hook” mount for the original LNA on the dish for now, as that will help with the next phase of the build.
Knowing the weight of the septum feed, preamp relay box and hardline would seriously stress the standard mount – my next project is to add a septum feed mounting bracket from RFhamdesign. I ordered one as well as a pile of square .75″ and 1″ aluminum tubing so I can make a 4 leg support structure for the feed. That should hold the feed and associated gear without issues.
4/2/2018
This is where I currently stand with the project. I have the parts, just need the time and brain power to determine how to connect the legs to dish as well as “center and level” the bracket for the septum feed.
Once that is done.. then it is a matter of mounting the dish and playing with the feed distance, running cables, preamps, feed lines, power, sequencers, amplifiers.. you know.. all the quick stuff. 😉
More to come soon I hope.. Before we are living in triple digits for several months.